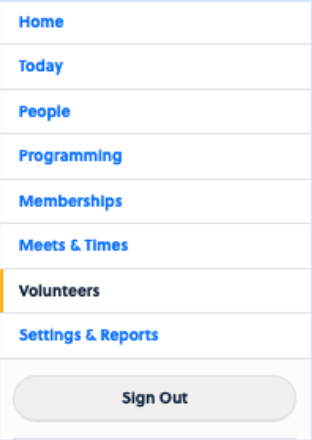
To get started creating Volunteers, choose Volunteers from the Menu.
Here, you will be presented with any Volunteer Events you have. To create a new one, choose Actions > New Event from the top right corner.

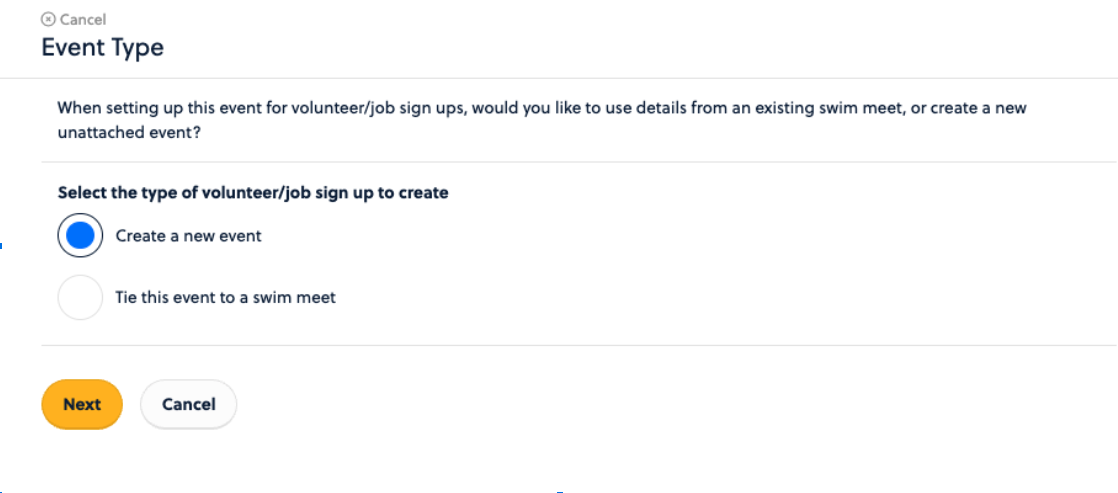
You will choose the type of Event this is. Is it a new event, or will it be tied to an existing Swim Meet.
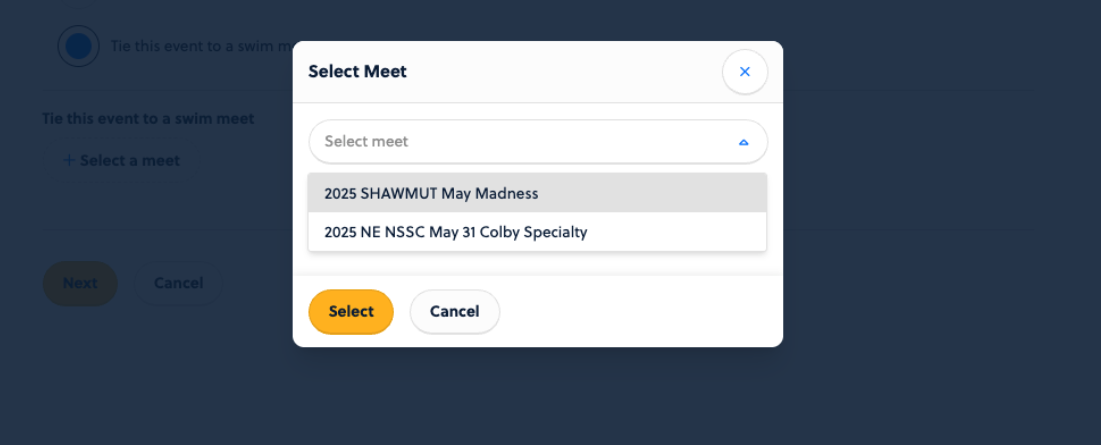
If you tie it to a Swim Meet, you will choose the + Select a meet icon and choose the meet to tie it to. When doing this, the settings for dates and visibility are connected to that of the Meet.
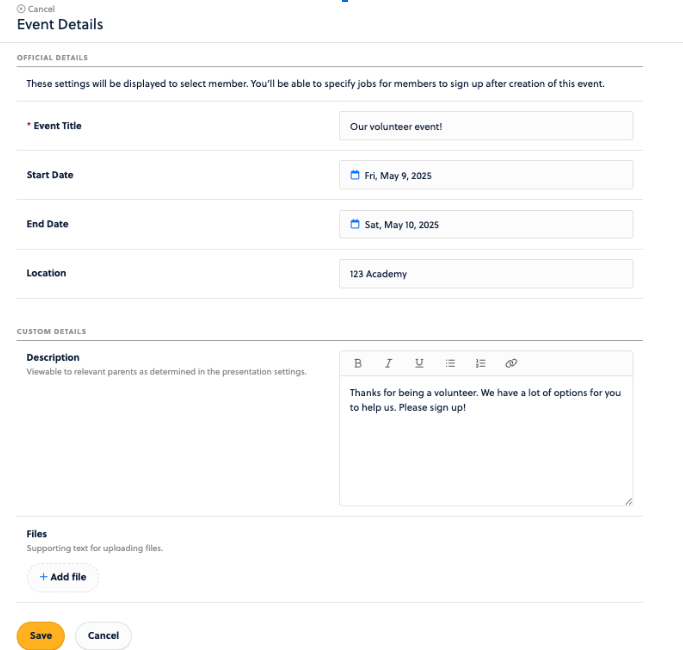
If you choose to create a new event, you will be taken to an overview page to fill in basic details.
Now that your Event is created, you can manage the Settings.

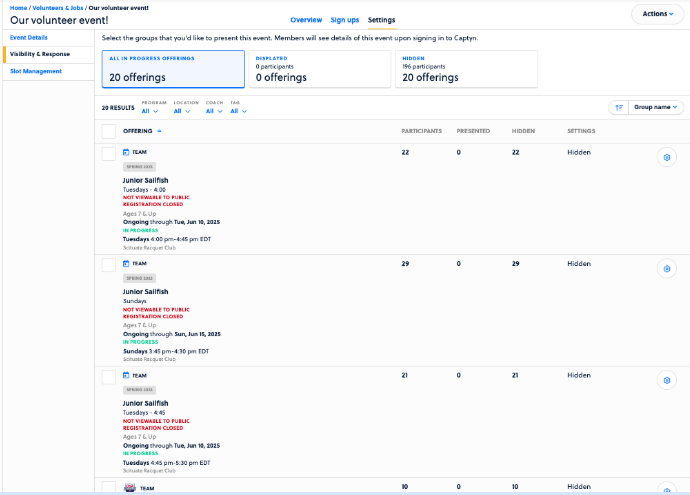
Manage things like the Visibility & Response settings for the Event.
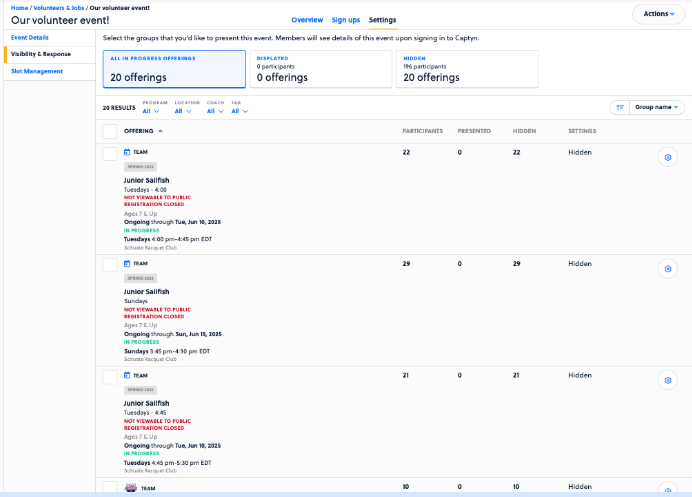
Edit this by clicking the cog wheel in the top right to see the Event's response window and controls when you can or cannot receive responses to this Event.

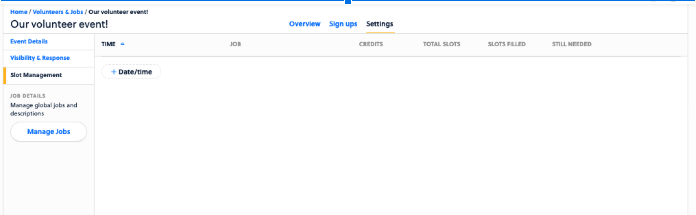
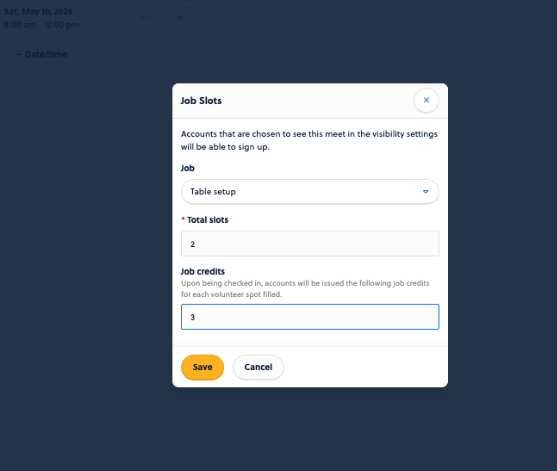
Next up will be Slot Management. This is where you will create your jobs and the values associated with them. You need to create a Date/Time option first for that job to live within, so choose that selection next.
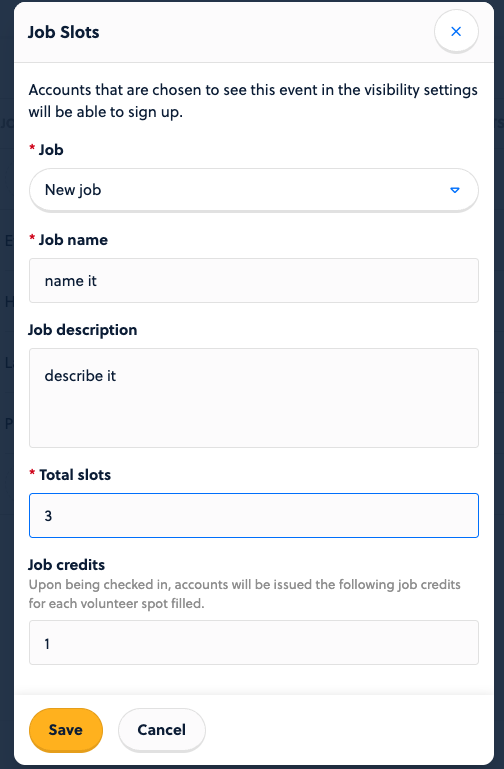
You will complete the modal when you select Add Job from the Actions menu.
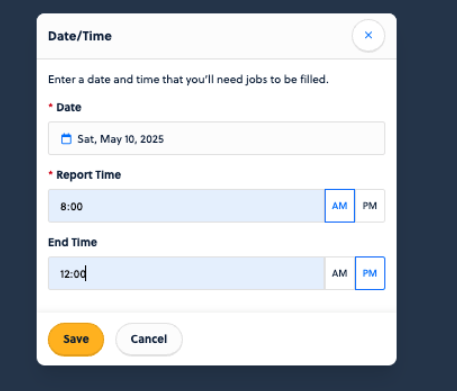
Once you have created your jobs, you will want to click on the + Date/time option from the Jobs tab. This will create the times when these jobs will be filled.
Once you have your dates and times created, you will want to create the specific job slots with the values associated for your customers to sign up for.

Using the + signs, you can crate these slots.
Once your slots have been created, it is time to make it Visible.
Heading back to that tab, you can control this Visibility.
You have a couple of options to make this show.
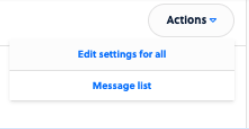
First, click on Actions in the top right and edit the visibility settings for all groups.
You can also click on the ellipses next to a group found on the Visibility & Response page, and set that visibility for that group from there.
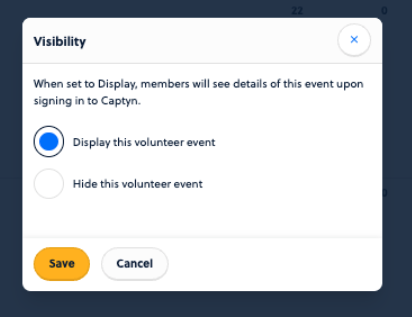
Setting Visibility allows for your customers to be able to sign up for these events.
The last thing is to get sign ups! Most of the time, these will come straight from your Customers, but you can also use the Sign ups tab along the top of the Event to manage these. All signups will appear here when present.
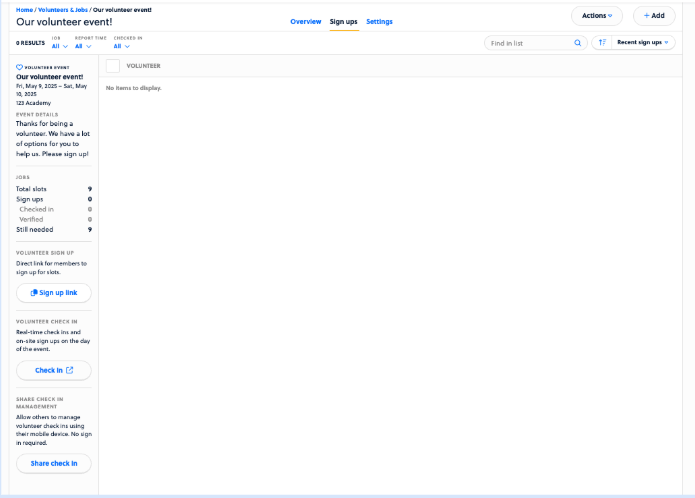
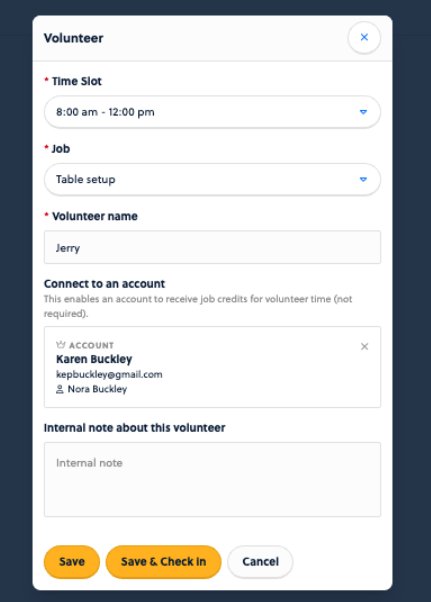
But you can also click on the + Add option to add your own volunteer in yourself, too!
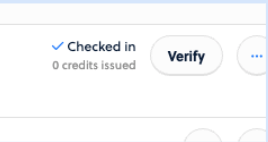
Once you have signups and you need to confirm these hours, head to the Sign ups tab and you can view your list of volunteers.
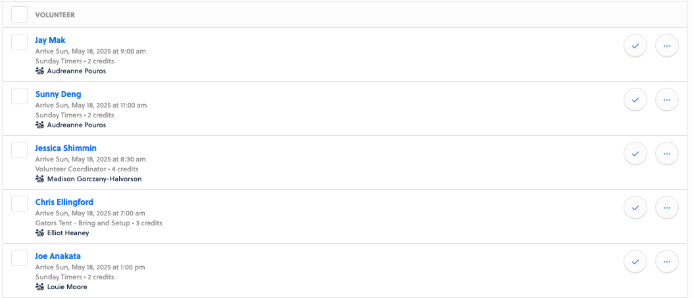
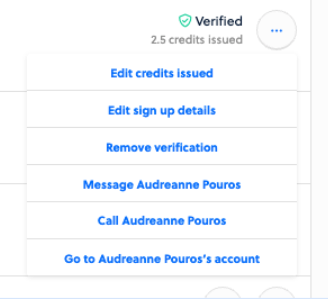
Here you will verify that the volunteers worked and establish their credit values received. Find a volunteer and click the check mark on the right to begin the verification process.
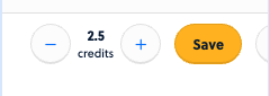
Click Verify and you can set the amount of credits to issue. The credit value will default to what was setup for the job (e.g. 2), but you can manage them in increments of .25 if needed, too. Click Save when you have the value correct.
Now the job and credit value has been verified and completed.
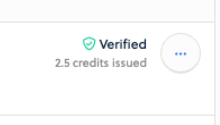
You can click the ellipses on the right to find some options to contact the volunteer as well as manage their credits issued.